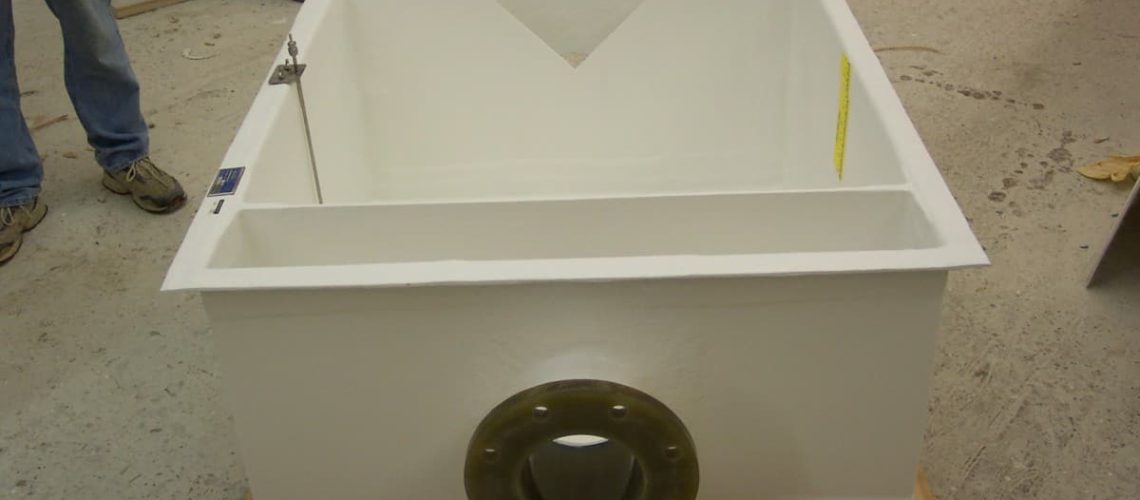
Flumes and weirs are your best options when it comes to flow rate measurement, but weirs can be harder to use if you don’t know what you’re doing. A flume is simple, as the floor of the channel is the zero point and the point of measurement itself is quite obvious. With a weir, though, the process can be a bit more complicated. Learn how to measure with a weir and ensure you’re getting readings you can count on.
Find the Point of Measurement
The first step in taking proper measurements using a weir is finding the exact point of measurement. This point is actually upstream of the weir’s crest since the crest itself causes a drawdown with the flow, which makes the surface appear lower than it actually is. Specifically, you need to measure upstream about 3 to 5 times the maximum head of your flow.
If you measure at the face of a weir, you won’t have reliable results. With the velocity increasing as your flow approaches the crest and the nappe, the surface level will drop even though the flow itself remains the same. If the decrease alters your measurements, you’ll only have a general idea of the flow rate at best. One of the best features of weirs is their ability to offer +/- 2% accuracy, and that is lost when measuring at the face.
Find the Gauge Zero
When you’re using a flume, the gauge zero is simply the floor of the flume in the vast majority of cases. Unfortunately, weirs aren’t so simple. Instead of using the floor of the weir, you have to leave some room beneath the zero point. How much room you need to leave can vary depending on the weir and your flow. In general, however, your gauge zero needs to be at least twice your maximum anticipated head above the floor.
You may be thinking that there’s an easy shortcut to the gauge zero. You can simply measure from the flow’s surface to the floor then subtract the height of the crest, right? Well, that method can come with some problems. If the crest settles or shifts, your gauge may not be reading the right level. Additionally, sediments could accumulate in the floor altering its elevation.
Calculating Submergence
If you have to deal with a submerged weir, the most important step is finding the downstream head. While the primary point of measurement is fixed, the downstream head is not. Typically, it’s located about 6 to 10 feet past the weir crest downstream. Specifically, this is just past the nappe’s turbulence entering the downstream flow. Additionally, you’ll need to have the proper gauge zero for both of those figures. Keep in mind that they both use the same value for their gauge zero.
Weirs from Tracom
Now that you know how to measure with a weir, it’s time to get your hands on one of your own. That’s where the experts at Tracom are happy to help. We’ll work with you to get a weir box that works well with your unique flow conditions and make sure you have everything you need to about getting the accurate measurements you deserve. Want to learn more? Click on our popular article, What Are Weir Boxes & How Do They Work?


