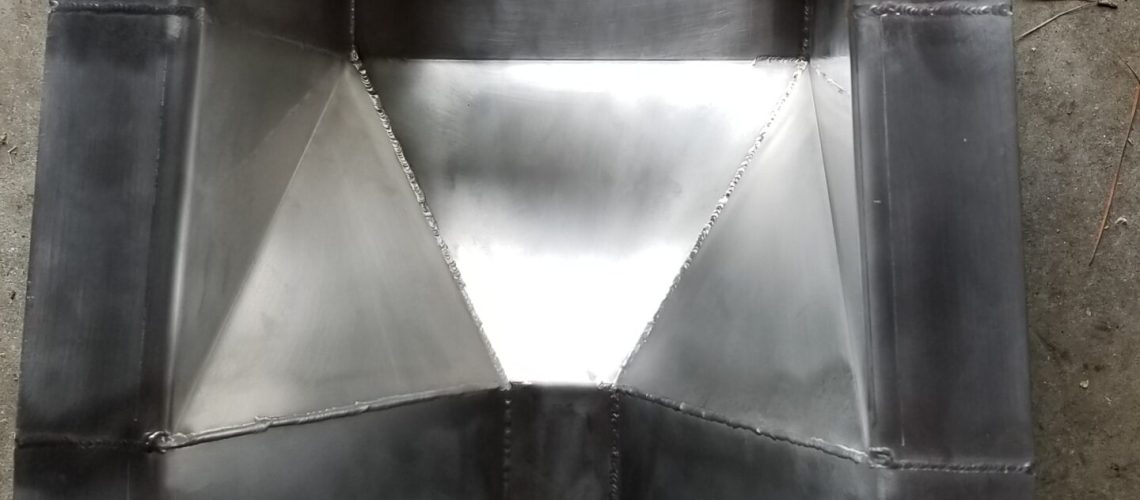
Installing a flume is one of the most important aspects of the entire flume process, as it’s the step that all future measurements depend on. Fortunately, installation is much more straightforward than you might think. Learn how to install a flume, and discover the easy steps you can take to ensure that you’re getting the accurate measurements you need.
Orientation
The first step is orientation. This involves getting the flume set up in the right direction. Flumes aren’t the same on both sides, so you’ll have to make sure that the upstream portion of it is facing upstream rather than the other way around. The actual upstream part will vary quite a bit depending on the kind of flume you opt for, so you’ll need to be familiar with the style you have. Parshall flumes, for example, have their flat floor upstream and the drop downstream. It’s harder to tell which end is which with flat-bottom flumes like trapezoidal flumes, but the shorter end is the one that goes downstream.
Leveling
After you’ve got the flume facing the right direction, you’ll need to make sure that it’s level in the channel. This means making sure it’s level from front to back as well as side to side. Additionally, the flume will need to be set completely centered in the channel to allow for a uniform flow. Any deviations whatsoever from a level and uniform flow will throw off your measurements significantly.
Securing
Your flume needs to be properly secured no matter what kind of channel it’s being installed in. Any kind of shift that happens after installation will render your measurement efforts useless, as you won’t be able to rely on its accuracy. Plus, having to adjust the flume after installation can be incredibly tough and costly, so it’s best to make sure it’s secure the first time. This is most often done with anchor clips that let you tie the flume to rebar or threaded rods to hold it in place as the concrete or earthen channel is being filled.
Cribbing
Securing the flume is essential during the backfill process, but don’t start pouring until you’ve got it cribbed as well. Cribbing is the process of maintaining the flume’s dimensions during the installation process. Flumes are made out of tough stuff, but they can become distorted during the installation process. Cribbing prevents this. Some people will tell you that it’s OK to skip this step, but you never should. While the end result without cribbing can be fine, it most likely won’t be. Instead, you’ll find your accuracy severely reduced.
Backfilling
Once the flume is secure in its setup and dimensions, it’s time to start backfilling. Backfill around the flume evenly all the way around instead of doing one side at a time. The surrounding of the flume should be done evenly and in layers with each layer about a foot thick. This is to prevent the flume from deforming should the cribbing not be able to resist the pressure. You’ll be tempted to backfill it all at once. Don’t do that.
Flumes From Tracom
Now that you know how to install a flume, all that’s left is getting the right kind of flume for your needs. That’s where Tracom can help. Our team will work with you to find a unique solution for your flow channel conditions, even if we have to design it ourselves. Contact us today to get started!


